Convert ARM Template to Bicep and Deploy with Azure DevOps - Part 5 - Deploy
Convert ARM Template to Bicep and Deploy with Azure DevOps - Part 5 - Deploy
• Azure, DevOps, .NET
• 6 min read
This is the fifth and the last part of the series where an ARM Template is converted to Bicep.
In this article, we should continue on Phase 5 - Deploy.
Phased Migration
As a reference to Part 4, Microsoft suggests a migration in 5 phases, to convert the ARM Template into Bicep Template.
The comprehensive details provided by Microsoft Docs are available as a reference1.
Phase 5 - Deploy
In this phase, we are going to deploy the final Bicep to production.
Some actions need to be verified to give us confidence that the migrated template will work:
Prepare a rollback plan
Make sure that in the event of breaking existing components/services, you have a way of reverting the changes. Create an inventory of the components/services you use, backups if needed, to keep any downtime to a minimum if any issues arise from a deployment.
Run the what-if operation against production
Similar to what was executed in Test, running the what-if operation in production is the safest approach to compare the state of components/services. For more details on the what-if operation, check Part 4.
Deploy manually
Before creating pipelines, run the deployment from your local machine (with the what-if operation you achieve that), then create the Azure DevOps or GitHub Actions pipeline.
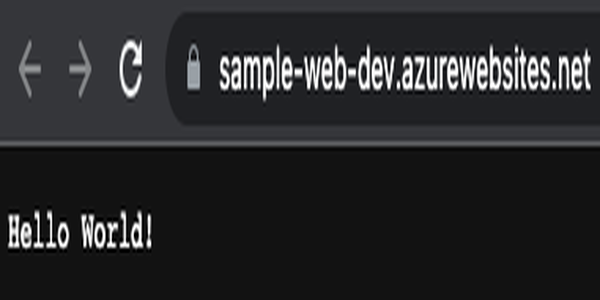
Run smoke tests
Check whether what was deployed to components/services is functioning properly, by validating the solutions deployed.
Azure DevOps
Assuming that all checkpoints above were validated, let’s automate the release of the converted Bicep explored during this series.
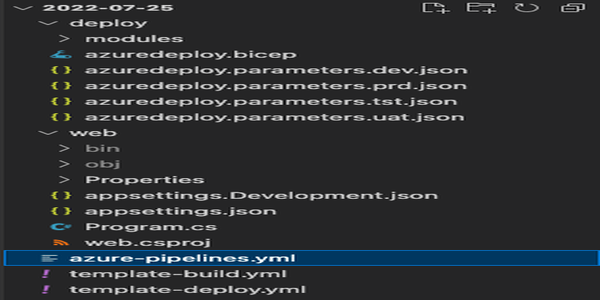
Looking at the folders/files on the repository:
deploy folder contains the Bicep definition
web folder contains a dummy web app
azure-pipelines.yml is the main pipeline to be used on Azure DevOps
template-build.yml is the template to build the dummy web app and copy files
template-deploy.yml is the template to deploy the Bicep resources and the dummy web app
By opening web\Program.cs we can verify the dummy web app that will be used in our Smoke Test:
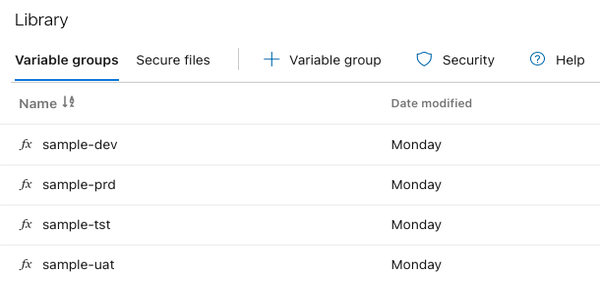
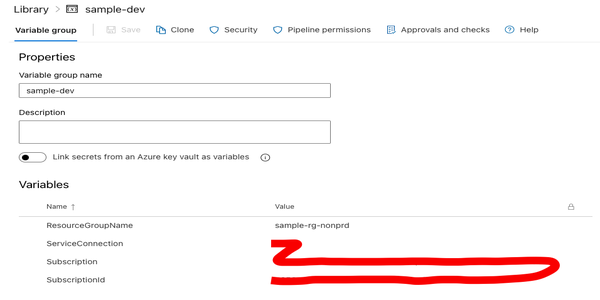
trigger:-mainvariables:buildConfiguration:'Release'stages:-stage:'Build'displayName:'Build the solution'jobs:-template:template-build.ymlparameters:appName:'web'csproj:'**/web.csproj'-stage:'DeployDev'displayName:'Deploy to Dev'condition:succeeded()jobs:-template:template-deploy.ymlparameters:appName:'web'resourceLocation:'australiaeast'env:'dev'envFullName:'Development'variableGroupName:'sample-dev'-stage:'DeployTest'displayName:'Deploy to Test'condition:succeeded()dependsOn:-DeployDevjobs:-template:template-deploy.ymlparameters:appName:'web'resourceLocation:'australiaeast'env:'tst'envFullName:'Test'variableGroupName:'sample-tst'-stage:'DeployUat'displayName:'Deploy to Uat'condition:succeeded()dependsOn:-DeployTestjobs:-template:template-deploy.ymlparameters:appName:'web'resourceLocation:'australiaeast'env:'uat'envFullName:'UAT'variableGroupName:'sample-uat'-stage:'DeployProd'displayName:'Deploy to Prod'condition:succeeded()dependsOn:-DeployUatjobs:-template:template-deploy.ymlparameters:appName:'web'resourceLocation:'australiaeast'env:'prd'envFullName:'Production'variableGroupName:'sample-prd'
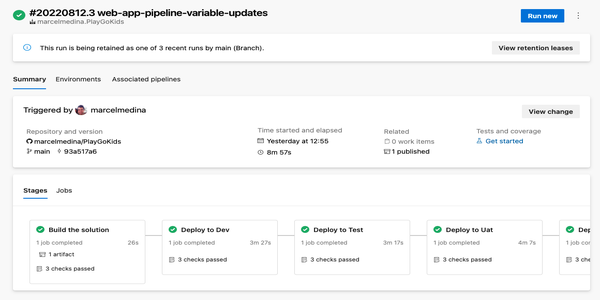
The pipeline basically orchestrates the build and deployment in different stages, using the condition suceeded() and dependsOn for the release of the different environments Dev, Test, Uat and Prod.
The template-build.yml is used in the first stage:


Join the conversation! Share your thoughts and connect with other readers.